Building a home music studio involves careful planning to balance functionality, sound quality, and budget. Start by selecting a quiet, well-insulated room to minimize outside noise and sound reflections. Acoustic treatment is essential—use foam panels, bass traps, and diffusers to control sound within the space. Invest in key equipment such as a digital audio interface, studio monitors, a quality microphone, and a reliable computer with digital audio workstation (DAW) software. Proper desk and monitor placement, along with ergonomic furniture, help maintain comfort during long sessions. As your skills grow, you can upgrade gear and add instruments or MIDI controllers to enhance your creative possibilities.
Here are the key steps involved in building a home music studio:
- Choose the Right Space
Pick a quiet, low-traffic room with minimal external noise and good dimensions for sound. Avoid rooms with a lot of windows or irregular shapes, if possible. - Treat the Room Acoustically
Install acoustic treatment like foam panels, bass traps, and diffusers to control echoes and frequency imbalances. This helps create a more accurate listening environment. - Plan Your Studio Layout
Position your desk and monitors in the optimal listening spot—usually with monitors forming an equilateral triangle with your ears and away from walls to reduce reflections. - Get the Essential Equipment
- Computer: A fast, reliable machine for running your DAW and plugins
- Digital Audio Workstation (DAW): Software like Ableton Live, FL Studio, Logic Pro, or Pro Tools
- Audio Interface: Converts analog sound to digital signals and vice versa
- Studio Monitors: Speakers designed for accurate sound reproduction
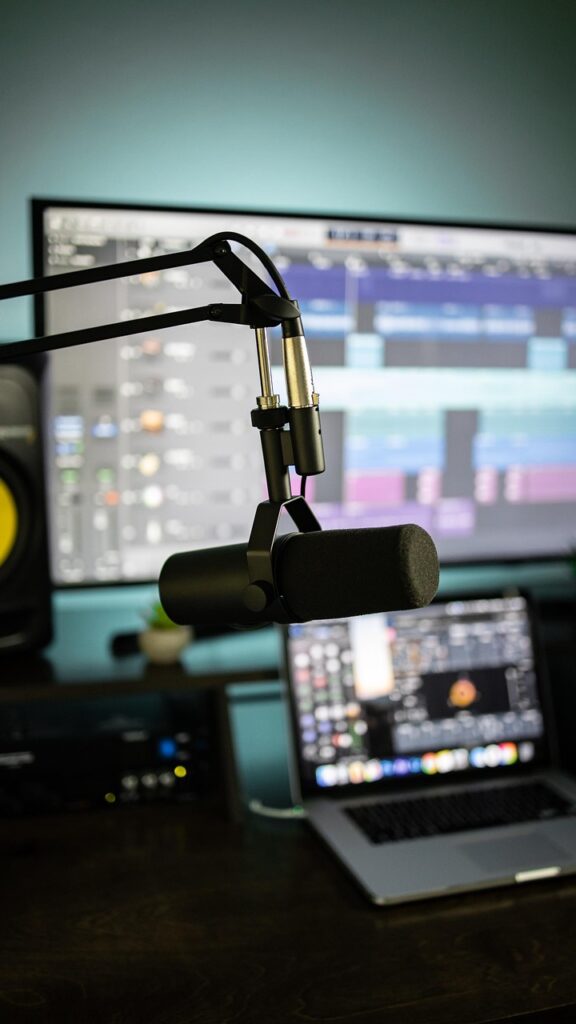
- Microphone: Choose based on your recording needs (e.g., condenser for vocals)
- Headphones: Closed-back for recording, open-back for mixing
- Connect Everything Properly
Set up your gear with appropriate cables and power sources. Install and configure drivers for your audio interface and make sure your DAW recognizes all devices. - Test and Calibrate
Run sound tests to check for issues like latency or imbalanced frequency response. Use reference tracks to fine-tune monitor placement and acoustics. - Add Accessories and Instruments
As needed, include MIDI controllers, synthesizers, pop filters, mic stands, or soundproof curtains to improve your workflow and recording quality. - Organize and Personalize
Keep cables tidy, label everything, and create a layout that inspires creativity and keeps you productive.